If you want to ramp up your subscriber numbers, you need to offer an attractive gift for your visitors in return for subscribing.
This is called an opt-in gift or lead magnet.
But what to offer?
Many writers don’t know how to create an opt-in gift. It can be daunting.
Many gifts take a lot of effort to create. But there are also some enticing gifts you can create in just hours. This is what you’ll learn in this article.
Take a look at the following list of possible opt-ins gifts:
- Audio Interview
- Podcast
- Audio
- Video
- Interview
- Insider Information
- Resource lists and tool sheet
- Special Report
- Ebook
- Course
- Insider Information
- Resource List and Tools
- Quiz
- Special Report
- Ebook
- Course
- Coaching Session
- Trial Membership
- Checklist
- Webinars
- Courses
- Product Review
Some of these Opt-in gifts take months to produce. For example, if you write and publish an ebook or create a course.
However, big items (like ebooks, courses, or webinars) aren’t necessarily more attractive than opt-in gifts that can be consumed more quickly.
In fact, the most effective opt-in gifts are resource lists and checklists.
The good news is that you can create such opt-in gifts in five hours or less!
But … they only work if they are targeted precisely to your audience.
1. Collect 10 items that solve the problem
If you are planning to write a tip-sheet, start collecting tips. Google the problem that you are going to address and check out possible tips.
Choose the ten best ones (ten is a good number to shoot for).
If you plan to create a resource list, Google the problem and add the word ‘resource’ in the search bar.
2. Write an Introduction and a Conclusion
To write your give-away, you can use any text editor like Word, OpenOffice, Pages etc.
The end product can easily be turned into a PDF. (I love using Scrivener! Check it out here)
Your introduction needs to talk about the problem and how important it is to fix it.
The conclusion rounds off the PDF. It’s also a place where you can include a link to paid products, or lead readers to other pages on your website.
3. Write a short paragraph for each tip or resource
The important thing here is to tell your readers exactly what this tip or resource will do for them and why they need it.
Make sure you include a link to each resource, if you’re doing a resource list.
4. Format Your Give-Away
Your give-away needs to look professional and attractive. Use big header fonts and consider inserting images.
5. Create an image of your giveaway
People like to see what they’re going to get. You can get a free 3D image at MyEcoverMaker.com.
Or you can design a cover yourself at PicMonkey.com.
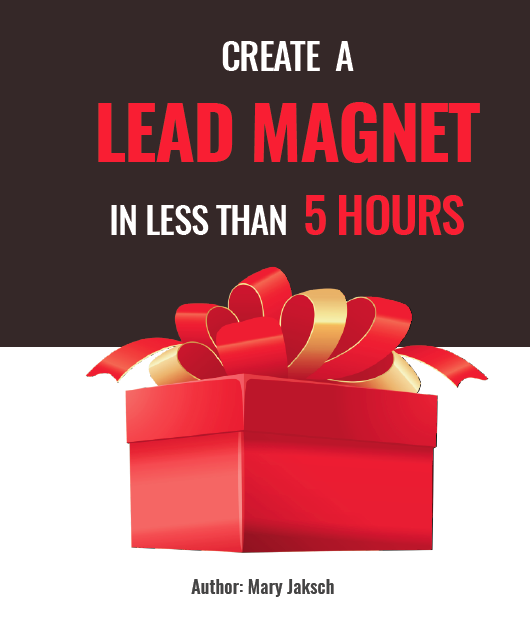
Or you can go to Fiverr.com and get a design for five dollars.
6. Get a 3D image of your cover
Once you’ve created an image of your cover, it’s time to get a 3D image. You can get one free at MyCoverMaker. Here is an example of the design above transformed to 3D with MyECoverMaker.

7. Upload the opt-in gift to your website
In order to make it easy to download and consume, you need to turn your document into a PDF.
If you created your document in Word, you can save it as a PDF. Just point your cursor at the arrow next to Save As, and then choose PDF.
If you created your document on a Mac, click on Print, then on PDF and then choose ‘Save as PDF’. Once you’ve turned your report into a PDF, upload it to the media library of your blog.
8. Create a signup form with your autoresponder
Your next step is to create a signup form.
Go to your autoresponder service, like AWeber or MailChimp, and choose one of their signup forms.
You can add the report image to the signup form.
9. Create a delivery page
After people subscribe, you need to give them the opt-in gift.
Create a delivery page where you thank people for subscribing and add a download link to your PDF. Consider including your product image on the download page.
When you create a subscription form with your autoresponder service, you can assign a ‘thank you’ page that people are taken to after they subscribe. Make sure you assign your delivery page as the ‘thank you’ page.
10. Display your lead magnet
You can upload your signup form as a widget into your sidebar. The form should also be visible under the post. You can do that by using a form generated by your autoresponder (Aweber, Mailchimp, etc), or by using the free version of Sumome.
The best way to do this is by joining ThriveThemes. This is an outstanding system which I use on all my blogs now. They have a great way to offer lead magnets on your website. If you become a member, you can use all of their plugins and themes, and really crank up the conversion.
As you can see, it’s easy to create an attractive opt-in gift! It won’t take you more than five hours to create. Just follow these 10 steps.
If you enjoyed this article, please share it on social media.

